Deployment with Hugo (and Github Actions)
One of the main tasks to relaunch this blog was to migrate over to Hugo. While the initial setup had been done on Github Pages and this is an excellent choice for zero-cost hosting, I wanted to personalize and own my content rather to host it on some other platform which is not made for this exact purpose. Additionally I didn’t want to upgrade my account just for this reason (Github doesn’t allow private repositories to publish sites unless on a Pro Plan).
Hugo
I have some experience with Hugo from other static websites and while these are deployed with Netlify’s CMS and using Forestry, I thought I might utilize Hugo’s blazingly fast rendering with some Github Action to deploy it to S3.
If you never came around Hugo, in own words it
is one of the most popular open-source static site generators. With its amazing speed and flexibility, Hugo makes building websites fun again.
It also doesn’t require a load of Rubygems installed and other quirks (slow rendering, bundleing themes, etc.) that Jekyll comes with.
Using S3, Cloudflare and Github Actions to Publish
Prepare S3 and Cloudflare for Static website hosting
There is an excellent guide by Cloudflare on this topic, please make sure to follow it closely. Also, please don’t make your bucket public readable as suggested in some other resources. Cloudlflare’s guide has you covered on this.
Adjust Deployment in Hugo
Deployment of Hugo is fairly straight forward, one needs to add a deployment directive in the config.yml (or .toml)
deployment:
  targets:
    - name: "s3"
      # S3; see https://gocloud.dev/howto/blob/#s3
      # For S3-compatible endpoints, see https://gocloud.dev/howto/blob/#s3-compatible
      URL: "s3://<your-s3-bucket>?region=<your-s3-region>"

      # If you are using a CloudFront CDN, deploy will invalidate the cache as needed.
      # cloudFrontDistributionID = <ID>


  matchers:
    #  Cache static assets for 1 year.
    - pattern: "^.+\\.(js|css|svg|ttf)$"
      cacheControl: "max-age=31536000, no-transform, public"
      gzip: true

    - pattern: "^.+\\.(png|jpg)$"
      cacheControl: "max-age=31536000, no-transform, public"
      gzip: false

    - pattern: "^.+\\.(html|xml|json)$"
      gzip: true
Adjust as needed and commit into your repository.
Set up Github Actions
Last step in this guide is to adjust Github Actions to actually deploy on push to the repository. As Hugo uses git clones to obtain themes, it is easier to add them as git submodules
$ git submodule add https://github.com/username/themename themes/themename
This will ensure, the workflow picks these up when cloning in --recursive mode.
To enable your Github Action, create a .github/workflows directory
$ mkdir -p .github/workflows
$ touch build.yml
and add the following to this newly created build.yml
name: Build and Deploy

on: push

jobs:
  build:
    name: Build and Deploy
    runs-on: ubuntu-latest
    steps:
      - uses: actions/checkout@v2
        with:
          submodules: 'true'
      - name: Install Hugo
        run: |
          HUGO_DOWNLOAD=hugo_extended_${HUGO_VERSION}_Linux-64bit.tar.gz
          wget https://github.com/gohugoio/hugo/releases/download/v${HUGO_VERSION}/${HUGO_DOWNLOAD}
          tar xvzf ${HUGO_DOWNLOAD} hugo
          mv hugo $HOME/hugo
        env:
          HUGO_VERSION: 0.72.0
      - name: Hugo Build
        run: $HOME/hugo -v
      - name: Deploy to S3
        if: github.ref == 'refs/heads/master'
        run: $HOME/hugo -v deploy --maxDeletes -1
        env:
          AWS_ACCESS_KEY_ID: ${{ secrets.AWS_ACCESS_KEY }}
          AWS_SECRET_ACCESS_KEY: ${{ secrets.AWS_SECRET_ACCESS_KEY }}
Committing and Pushing should get you going, but Github doesn’t know the secrets mentioned in the environment variables yet.
I highly recommend to create a new IAM user in AWS for accessing S3 only and not providing your root credentials, even though they’re encrypted on Github’s side.
In Github, go to your repository, followed by Settings -> Secrets.
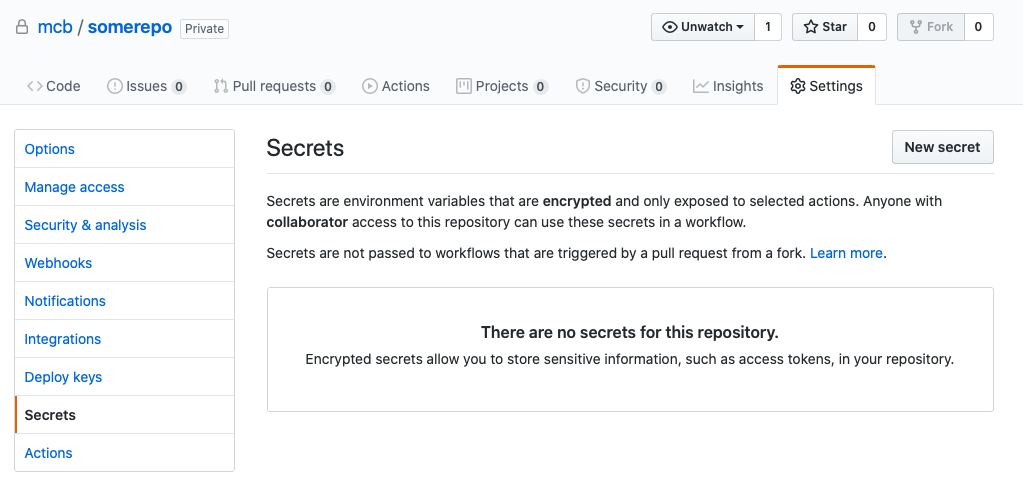
Add two new secrets AWS_ACCESS_KEY and AWS_SECRET_ACCESS_KEY with the respective content you’re provided with by AWS.
Finally push your repository and the deployment should end up in your S3 bucket as expected, ready to be served by Cloudflare!