Installing Tanzu Application Service (formerly Pivotal Cloud Foundry) on Kubernetes
It’s now a couple of years since I tried to install Cloud Foundry for the first time when joining Pivotal. During that time we made the shift from using DEA (Droplet Execution Agent) to Diego (Differences) and now with the shift towards embracing Kubernetes as the container scheduler it was time to give it a go on my laptop. Pivotal Cloud Foundry has been renamed to match the Tanzu brand and while this is more of a branding effort, the real changes are now in beta and ready to try out. These changes include the same developer experience while switching to full kubernetes backed system components underneath.
Quite eager to see this platform running on k8s (specificallly using kind without bosh so let’s spin this thing up!
Installing kind
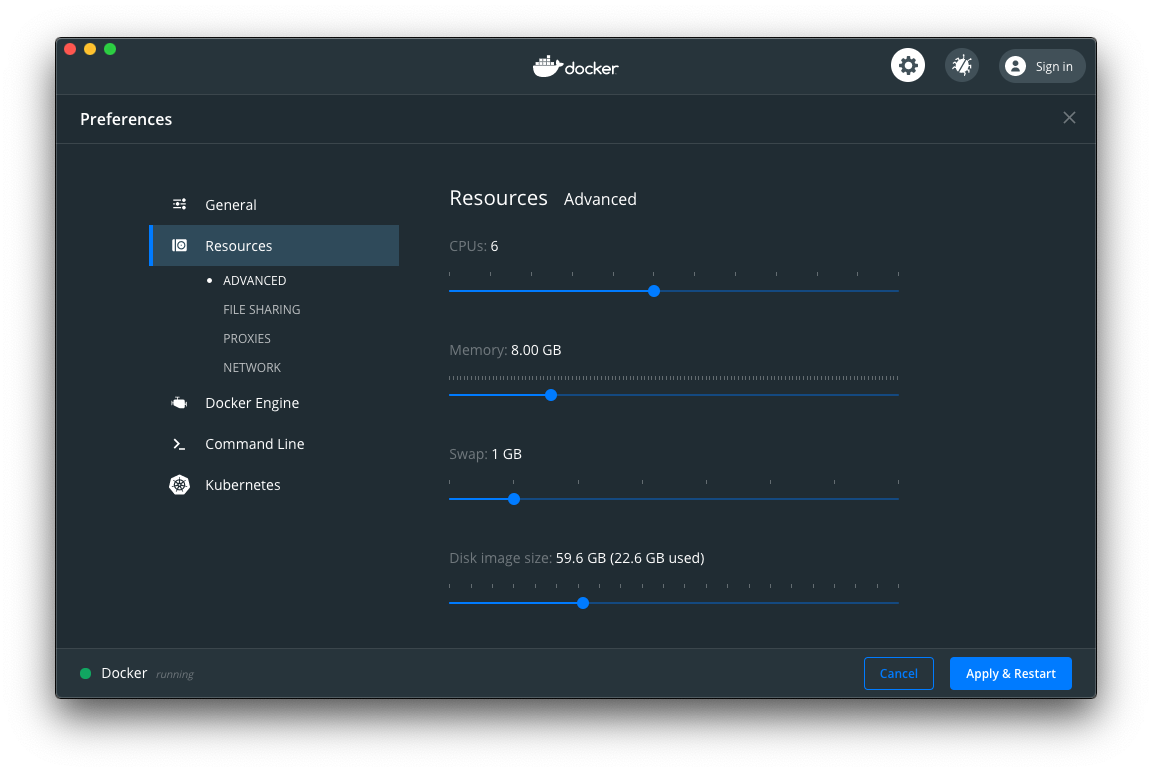
Kind is a tool to run kubernetes Clusters using Docker nodes, so for TAS4k8s to run properly, it is recommended to increase the Docker settings to run at 8GB memory. This can be done in the settings of the docker deamon itself.

Install kind
$ brew install kind
Get the cluster definition file from cf-4-k8s project.
$ curl https://raw.githubusercontent.com/cloudfoundry/cf-for-k8s/master/deploy/kind/cluster.yml > cluster.yml
  % Total    % Received % Xferd  Average Speed   Time    Time     Time  Current
                                 Dload  Upload   Total   Spent    Left  Speed
100   361  100   361    0     0   3033      0 --:--:-- --:--:-- --:--:--  3033
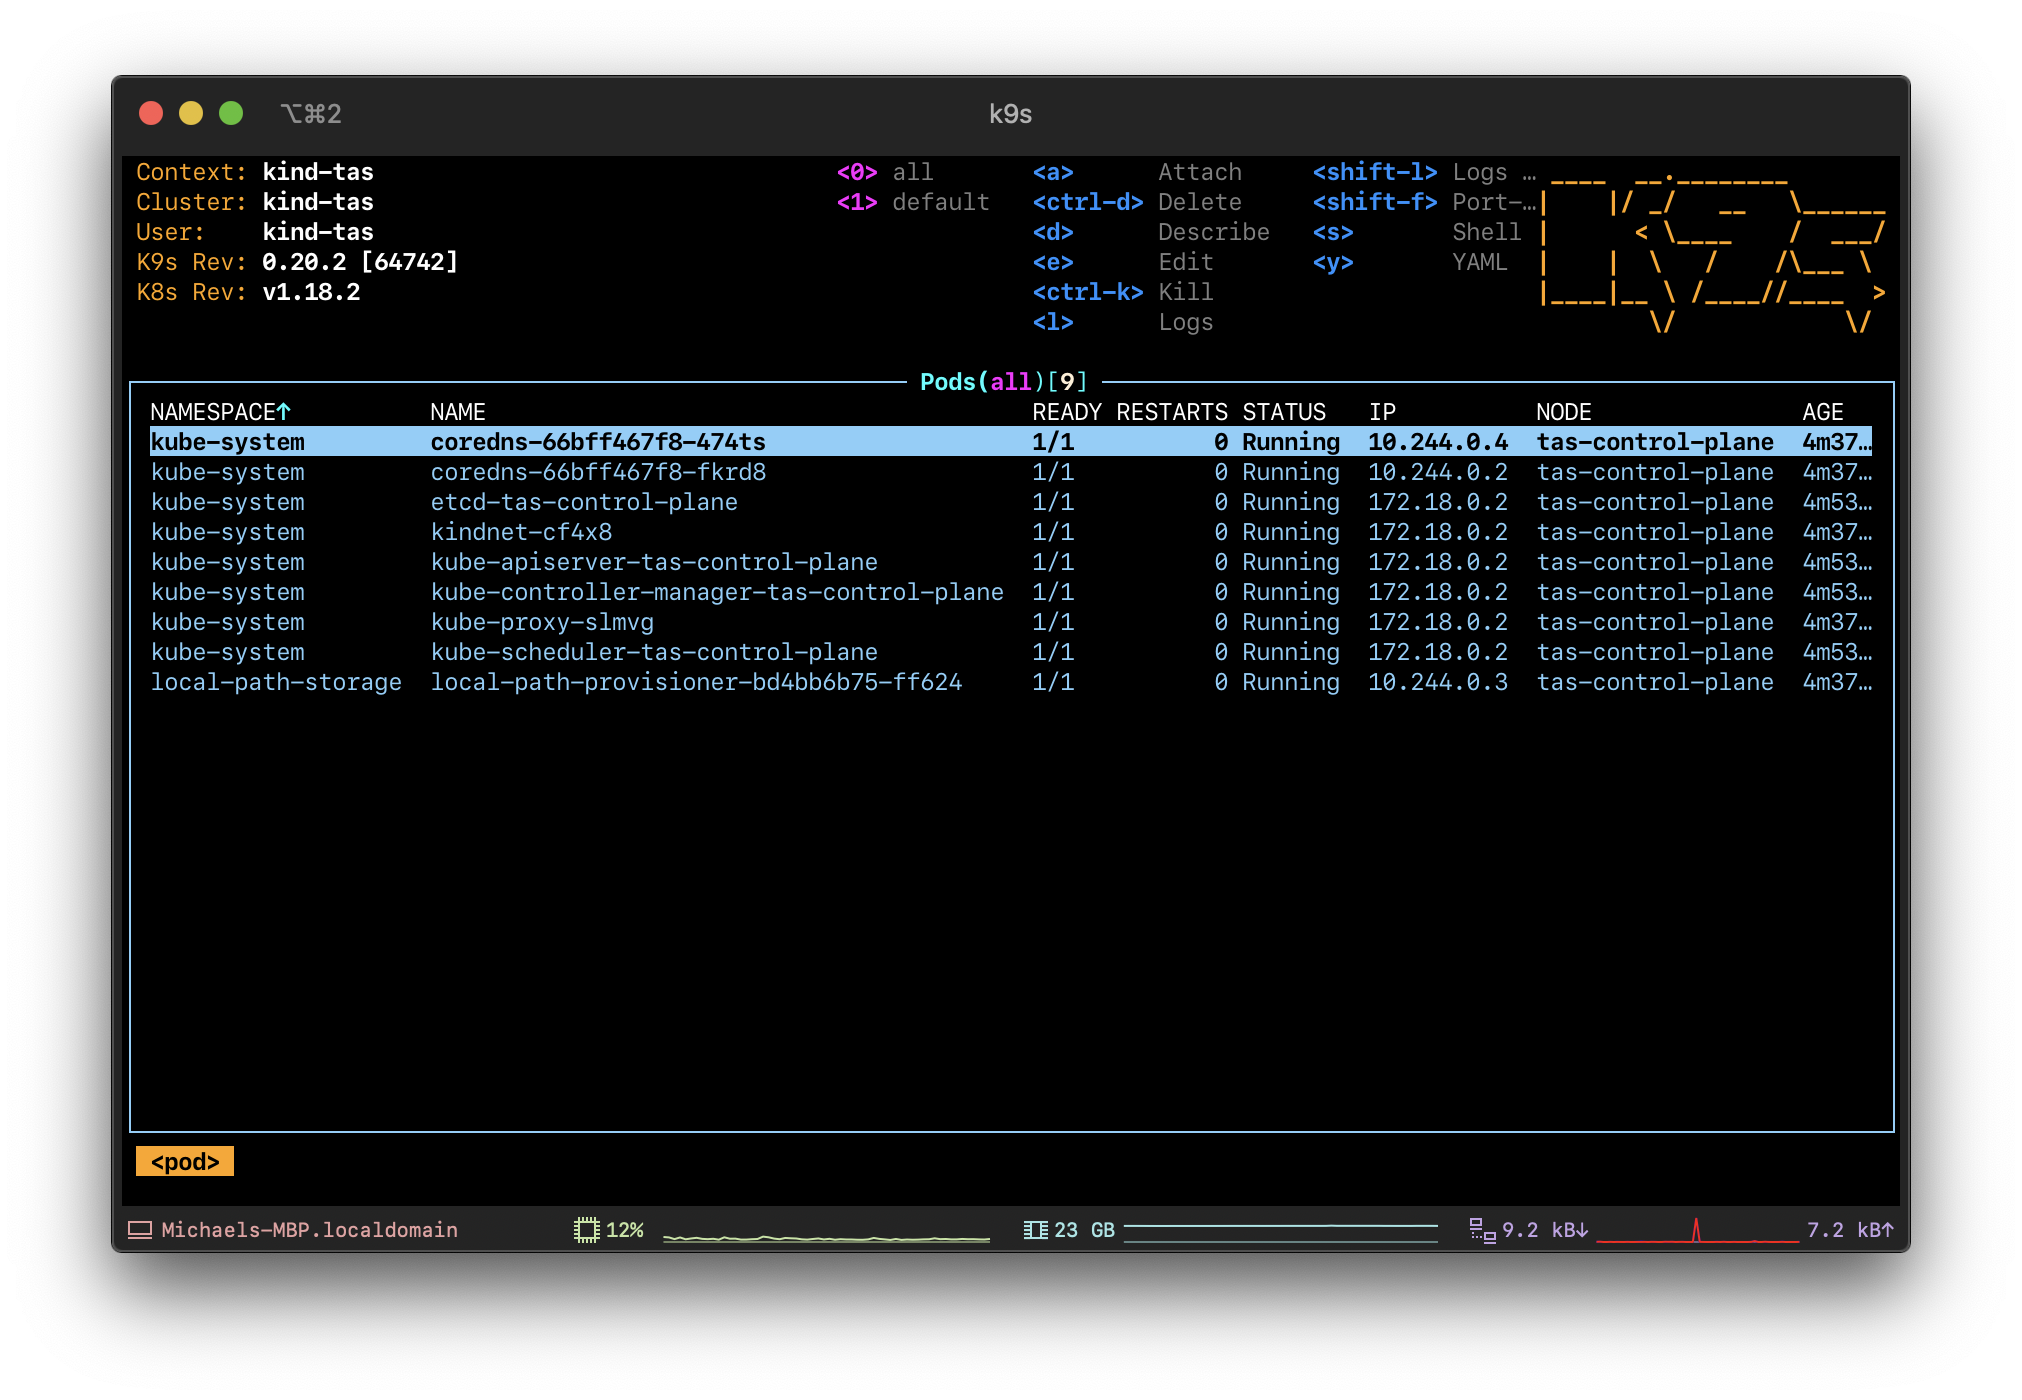
And use this file to create the cluster with the name tas
$ kind create cluster --config cluster.yml --name tas
Creating cluster "tas" ...
 ✓ Ensuring node image (kindest/node:v1.18.2) 🖼
 ✓ Preparing nodes 📦
 ✓ Writing configuration 📜
 ✓ Starting control-plane 🕹️
 ✓ Installing CNI 🔌
 ✓ Installing StorageClass 💾
Set kubectl context to "kind-tas"
You can now use your cluster with:

kubectl cluster-info --context kind-tas

Have a question, bug, or feature request? Let us know! https://kind.sigs.k8s.io/#community 🙂
Verify your kubectl connects to the cluster:
$ kubectl cluster-info --context kind-tas
Kubernetes master is running at https://127.0.0.1:57471
KubeDNS is running at https://127.0.0.1:57471/api/v1/namespaces/kube-system/services/kube-dns:dns/proxy

To further debug and diagnose cluster problems, use 'kubectl cluster-info dump'.

Configuring TAS
Prerequisites
Install kapp, kbld and ytt by either obtaining them at network.pivotal.io or installing them with
$ brew tap k14s/tap
$ brew install kapp kbld ytt
Also install the bosh-cli as it allows some of the heavy lifting in dealing with the generation of values required by TAS
$ brew install cloudfoundry/tap/cf-cli
Download TAS from network.pivotal.io and make configuration changes
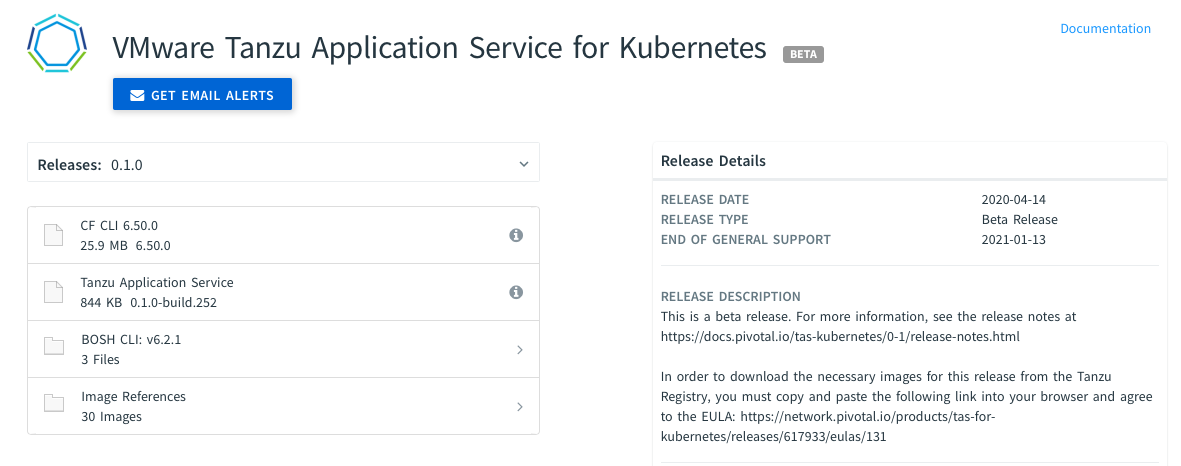
First get your copy from network.pivotal.io. If you haven’t signed up for this, you are prompted to do so. Please download v0.1.0 as of this blog post, I will share an update once available.

Untar this and rename the folder to tanzu-application-service and create a folder named configuration-variables next to it.
$ ls
configuration-values
tanzu-application-service
tanzu-application-service.0.1.0-build.252.tar
From within the tanzu-application-service directory, add the remove-resource-requirements.yml as this will not burst your CPU and will allow an installation on smaller environments, such as the one we’re using.
$ curl https://raw.githubusercontent.com/cloudfoundry/cf-for-k8s/master/config-optional/remove-resource-requirements.yml > custom-overlays/remove-resource-requirements.yml
Also, download the appropriate use-nodeport-for-ingress.yml to connect to the Istio ingress router.
$ curl https://raw.githubusercontent.com/cloudfoundry/cf-for-k8s/ed4c9ea79025bb4767543cb013d3c854d1cd2b72/config-optional/use-nodeport-for-ingress.yml > custom-overlays/use-nodeport-for-ingress.yml
To complete these steps, move replace-loadbalancer-with-clusterip.yaml into the config-optional folder, as kind does not support LoadBalancer Services.
mv custom-overlays/replace-loadbalancer-with-clusterip.yaml config-optional/.
Generate configuration
Now it’s time to generate the configuration for the environment we’re about to deploy.
To generate these, use the provided shell script and I’m using 127.0.0.1.nip.io as a Hostname to connect and the certificates will be generated accordingly.
$ ./bin/generate-values.sh -d "127.0.0.1.nip.io" > ../configuration-values/deployment-values.yml
Adding credentials
As we’re pulling images from the Tanzu Registry, we need to provide our credentials to log in and pull these, also we need to provide credentials to a docker registry of our choice, as TAS will generate docker images resulting from the Buildpack Staging process and will place these into a registry from which they can be pulled when needed.
Add the following lines at the end of ../configuration-values/deployment-values.yml
system_registry:
  hostname: registry.pivotal.io
  username: [email protected]
  password:

app_registry:
  hostname: https://index.docker.io/v1/
  repository: hopethisusernameisgood
  username: hopethisusernameisgood
  password:
Installing TAS
Make sure you’re running a metrics-server within your environment. This can be installed by
$ kubectl apply -f https://github.com/kubernetes-sigs/metrics-server/releases/download/v0.3.6/components.yaml
Configuration’s done, and we can hit Apply changes - no wait, there’s some other command for this:
$ ./bin/install-tas.sh ./configuration-values
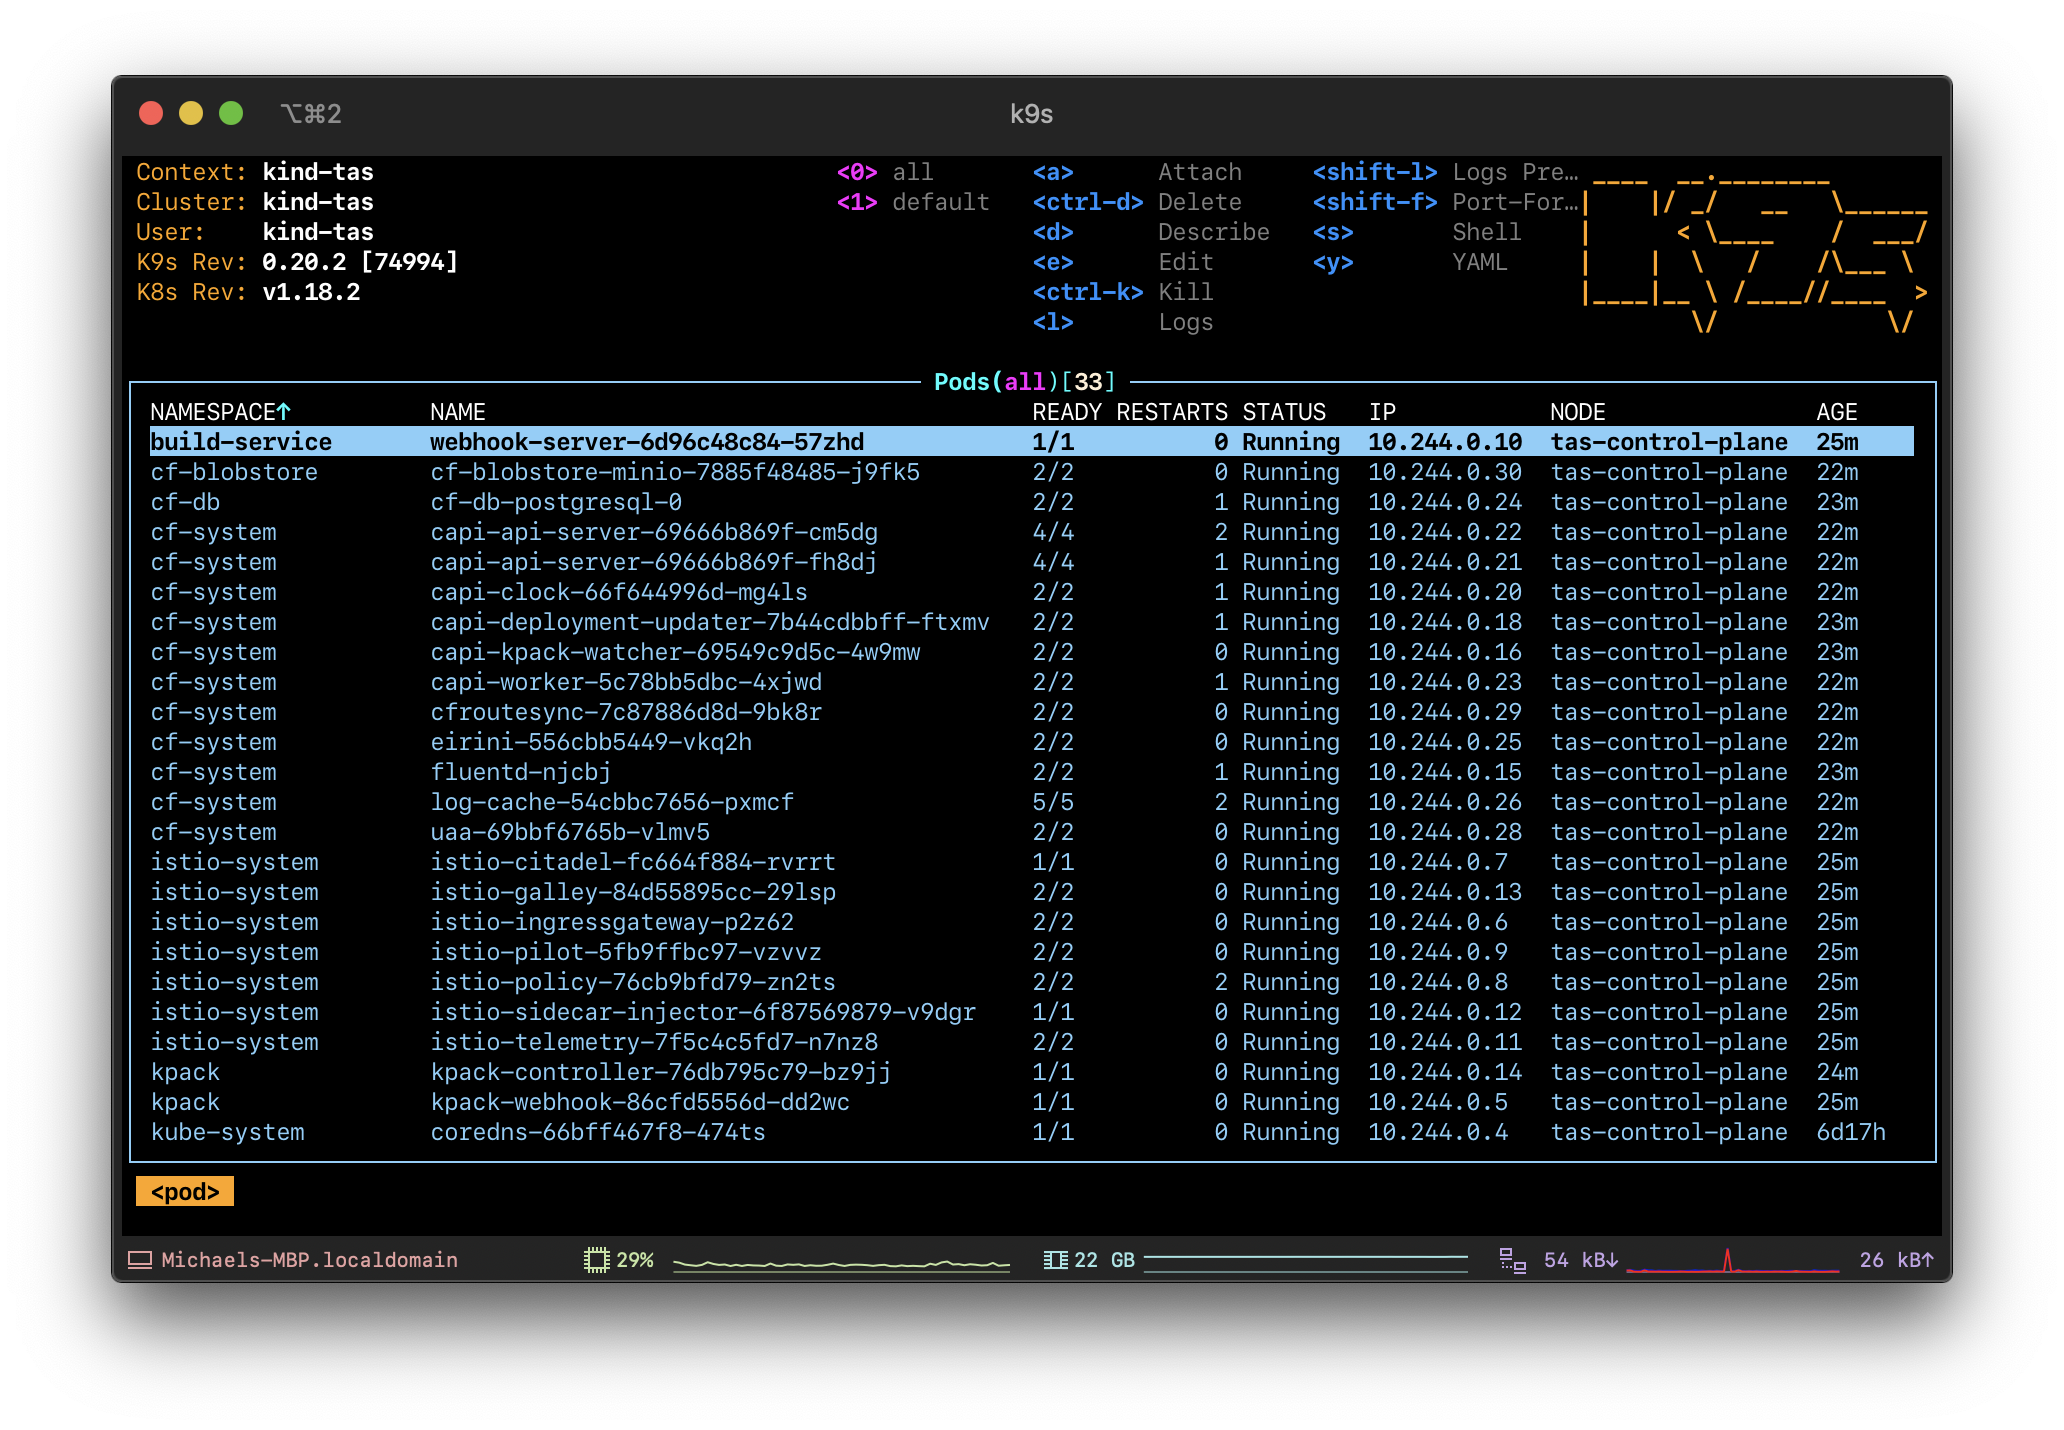
Initial thoughts were to make myself comfortable and wait a couple of hours - one gets used to Cloud Foundry Installation Routines. But this one is different. After 16 minutes waiting, I was presented with a shiny version of the Application Service running on top of Kubernetes. No Bosh VMs to be seen, everything containerized within k8s.

Testing things - login, make yourself comfortable and try things out
Installation’s done, so we want to login and test things out.
Use the cf cli to point to the api endpoint:
$ cf api api.127.0.0.1.nip.io --skip-ssl-validation
Setting api endpoint to api.127.0.0.1.nip.io...
OK

api endpoint:   https://api.127.0.0.1.nip.io
api version:    2.148.0
Authenticate as admin (your generated password can be found in the configuration-variables)
$ cf auth admin password
API endpoint: https://api.127.0.0.1.nip.io
Authenticating...
OK

Use 'cf target' to view or set your target org and space.
Important step: Enable diego_docker in beta releases, as this will enable your containers to actually run.
$ cf enable-feature-flag diego_docker
Setting status of diego_docker as admin...

OK

Feature diego_docker Enabled.
Create orgs/spaces as admin
$ cf create-org test-org
Creating org test-org as admin...
OK

Assigning role OrgManager to user admin in org test-org...
OK

TIP: Use 'cf target -o "test-org"' to target new org
$ cf create-space -o test-org test-space
Creating space test-space in org test-org as admin...
OK

Assigning role SpaceManager to user admin in org test-org / space test-space as admin...
OK

Assigning role SpaceDeveloper to user admin in org test-org / space test-space as admin...
OK

TIP: Use 'cf target -o "test-org" -s "test-space"' to target new space
$ cf target -o test-org -s test-space
api endpoint:   https://api.127.0.0.1.nip.io
api version:    2.148.0
user:           admin
org:            test-org
space:          test-space
And finally push the cf-nodejs demo app:
$ cf push
Pushing from manifest to org test-org / space test-space as admin...
Using manifest file /cf-sample-app-nodejs/manifest.yml
Getting app info...
Creating app with these attributes...
+ name:        cf-nodejs
  path:        /cf-sample-app-nodejs
+ instances:   1
+ memory:      512M
  routes:
+   cf-nodejs-tired-puku-rr.127.0.0.1.nip.io

Creating app cf-nodejs...
Mapping routes...
Comparing local files to remote cache...
Packaging files to upload...
Uploading files...
 1.24 MiB / 1.24 MiB [============================================================================================================================================================================================================] 100.00% 1s

Waiting for API to complete processing files...

Staging app and tracing logs...

Waiting for app to start...

name:                cf-nodejs
requested state:     started
isolation segment:   placeholder
routes:              cf-nodejs-tired-puku-rr.127.0.0.1.nip.io
last uploaded:       Thu 04 Jun 11:20:44 CEST 2020
stack:
buildpacks:

type:           web
instances:      1/1
memory usage:   512M
     state     since                  cpu    memory      disk      details
#0   running   2020-06-04T09:21:08Z   0.0%   0 of 512M   0 of 1G
Congratulations, you have a Application Service running on top of your Kubernetes cluster! You may now play with it, install workloads, enable services, add user-provided or otherwise provided services. Reminds me of the old days when one used to install a PCF Dev environment, but this one is much better.
P.s. if you want to get out, lock doors and clean after yourself, kapp delete -a cf will remove the whole installation.